I start by using vintage imagery and editing it in Photoshop, which isn't shown here. Instead, we'll start with the actual printing process. You will need a carbon-based photocopy of what the design you want to print. Many people draw their own designs with carbon pens, too.
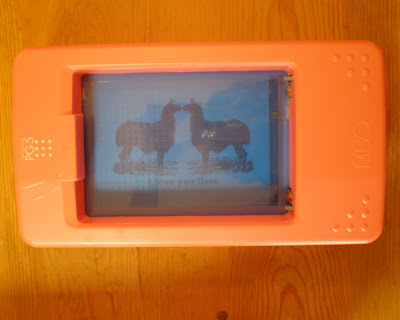
First, slide the blue filter screen into the window of the Gocco. This filter prevents too much carbon from sticking to your master and results in cleaner, more precise prints. You can also opt to let their photocopies dry for 24 hours, and then iron them to remove excess carbon. Next, slide the actual high-mesh master screen into the window. The screen side, rather than the smoother mylar side that can be peeled away, should face the grey grid pad.
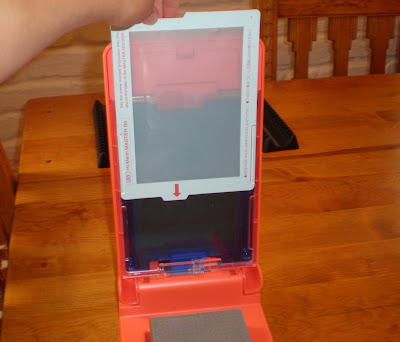 Make sure the screen locks into place by checking the tabs at the top.
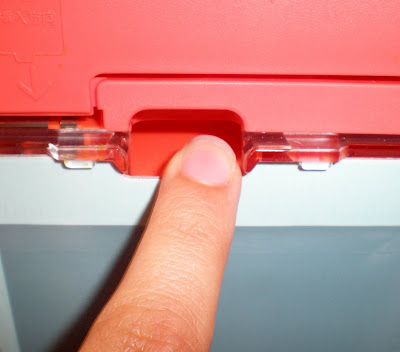 After the filter and master are in place, place your image on the grid pad. The stickiness of the pad will hold an image in place, but I recommend placing a piece of white cardstock behind the image. Otherwise, the grid pattern from the pad tends to burn onto the master and can show up on your prints.
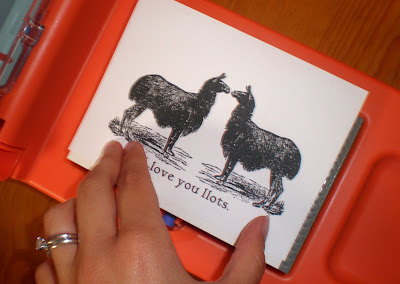 Also, use the lines on the grid pad to make sure your image is straight, especially if it contains any text.
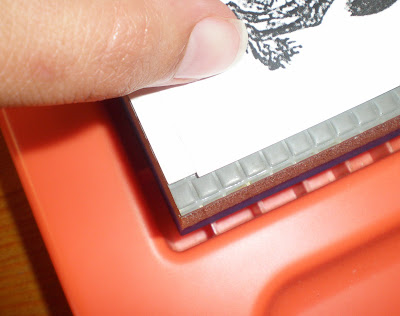 Take one final peek through the window to ensure that it is lined up correctly.
 Now you can screw two flashbulbs into the yellow housing unit.
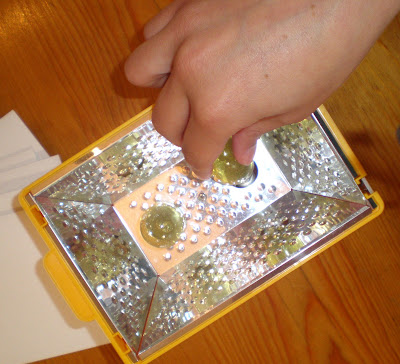 Slide the housing unit onto the top of the Gocco, making sure that the metal tabs come in contact with one another. This is how the bulbs will flash and the image will burn onto the master.
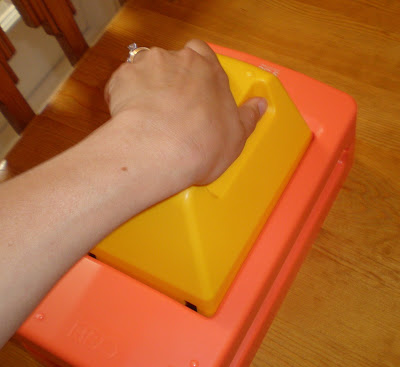 Now press down on the front handle firmly and evenly, with both hands, until the bulbs flash. Do not look directly at the yellow housing unit as you are doing this; it will hurt your eyes! Look up and press until you hear the bulbs "pop." You can remove the housing unit, but do not unscrew the bulbs yet. They're very hot! Just set them aside and throw them away later.
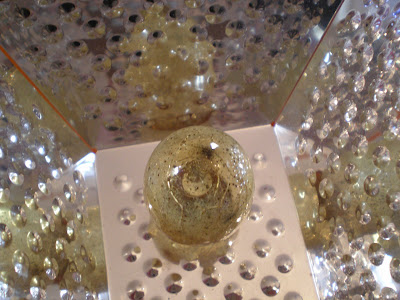 When you lift up, you will see that the photocopy of your design is now burned to the master.
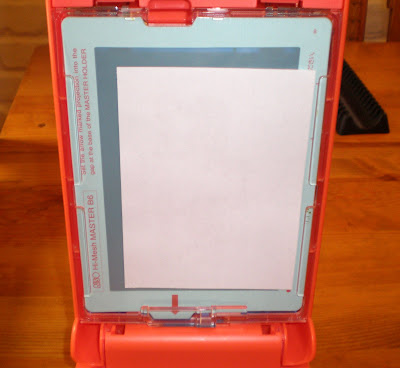 I used to peel the photocopy off immediately to check that the image had burned correctly, but now I just gently inspect the corners. If you leave it on, it makes it much easier to ink your master accurately. Remove your master and peel back the mylar cover:
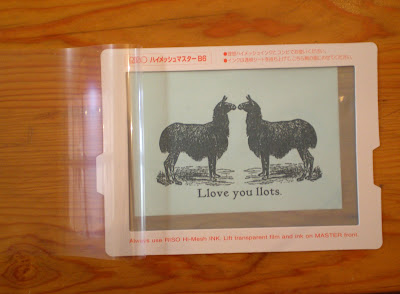 Since this is a two-color design, I apply the ink blocking first. Ink blocking can be cut into self-adhesive strips and applied to your master to keep the colors separate.
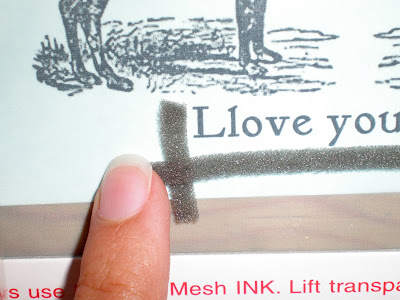 Once you have the ink blocking in place, squeeze ink directly onto the screen. I like leaving the burned photocopy on the screen for these steps because it helps me see the design and apply the ink more accurately.
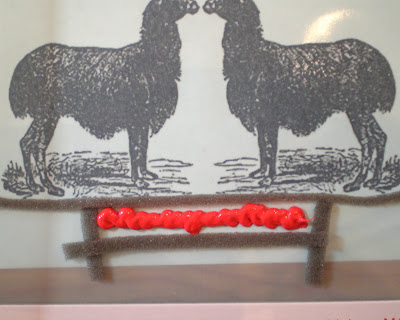 Once you have the entire design inked, you can slide the master back into the Gocco the same way you did when you burned the screen.
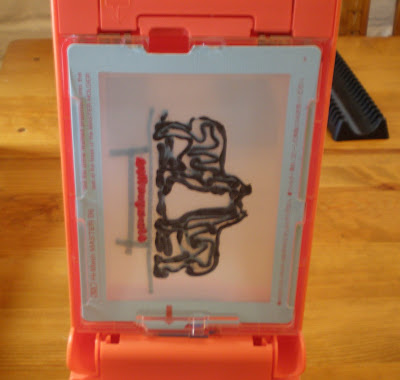 I always test print on a piece of scrap paper first. Press down with both hands firmly and check that your image is printing evenly. If not, remove the screen and apply ink where needed.
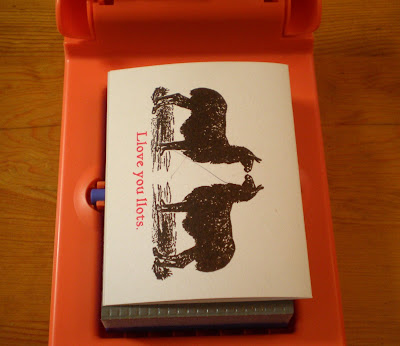 If you are happy with the print, you can place it in the drying rack. Be sure to leave enough space between prints on the rack to avoid smudging.
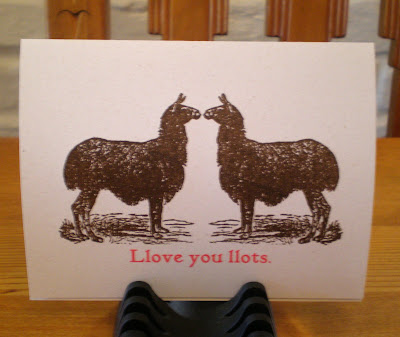 Continue merrily on your way. You can likely get up to 80 prints without having to re-ink the screen, depending on the design.

7 comments:
I need a GOCCO!
and then I can reference your lovely tute.
All the things I want, but a budget that just won't allow it!
Dang, Budget.
Tell me about it, Jessica! I have been lusting after a letterpress forever. It is not likely to happen anytime soon :(
This was completely educational- I have never seen the process done and now it makes sense! Thanks for taking the time to document it! Llove your llittle cards, too!
Well I never. Learn something new every day! Thanks!
Awesomeness!!!!
Great tutorial! I love the image you chose, really shows what you can do with a gocco!
Thank you for sharing this lovely blog with us all and taking your time to share this tutorial with us and I loved the picture and the text which you have used
Post a Comment